Create a webhook
1
Log in to the Good Grants dashboard
2
Create a new webhook
Navigate to Settings > Integrations > Webhooks, then click on New webhook: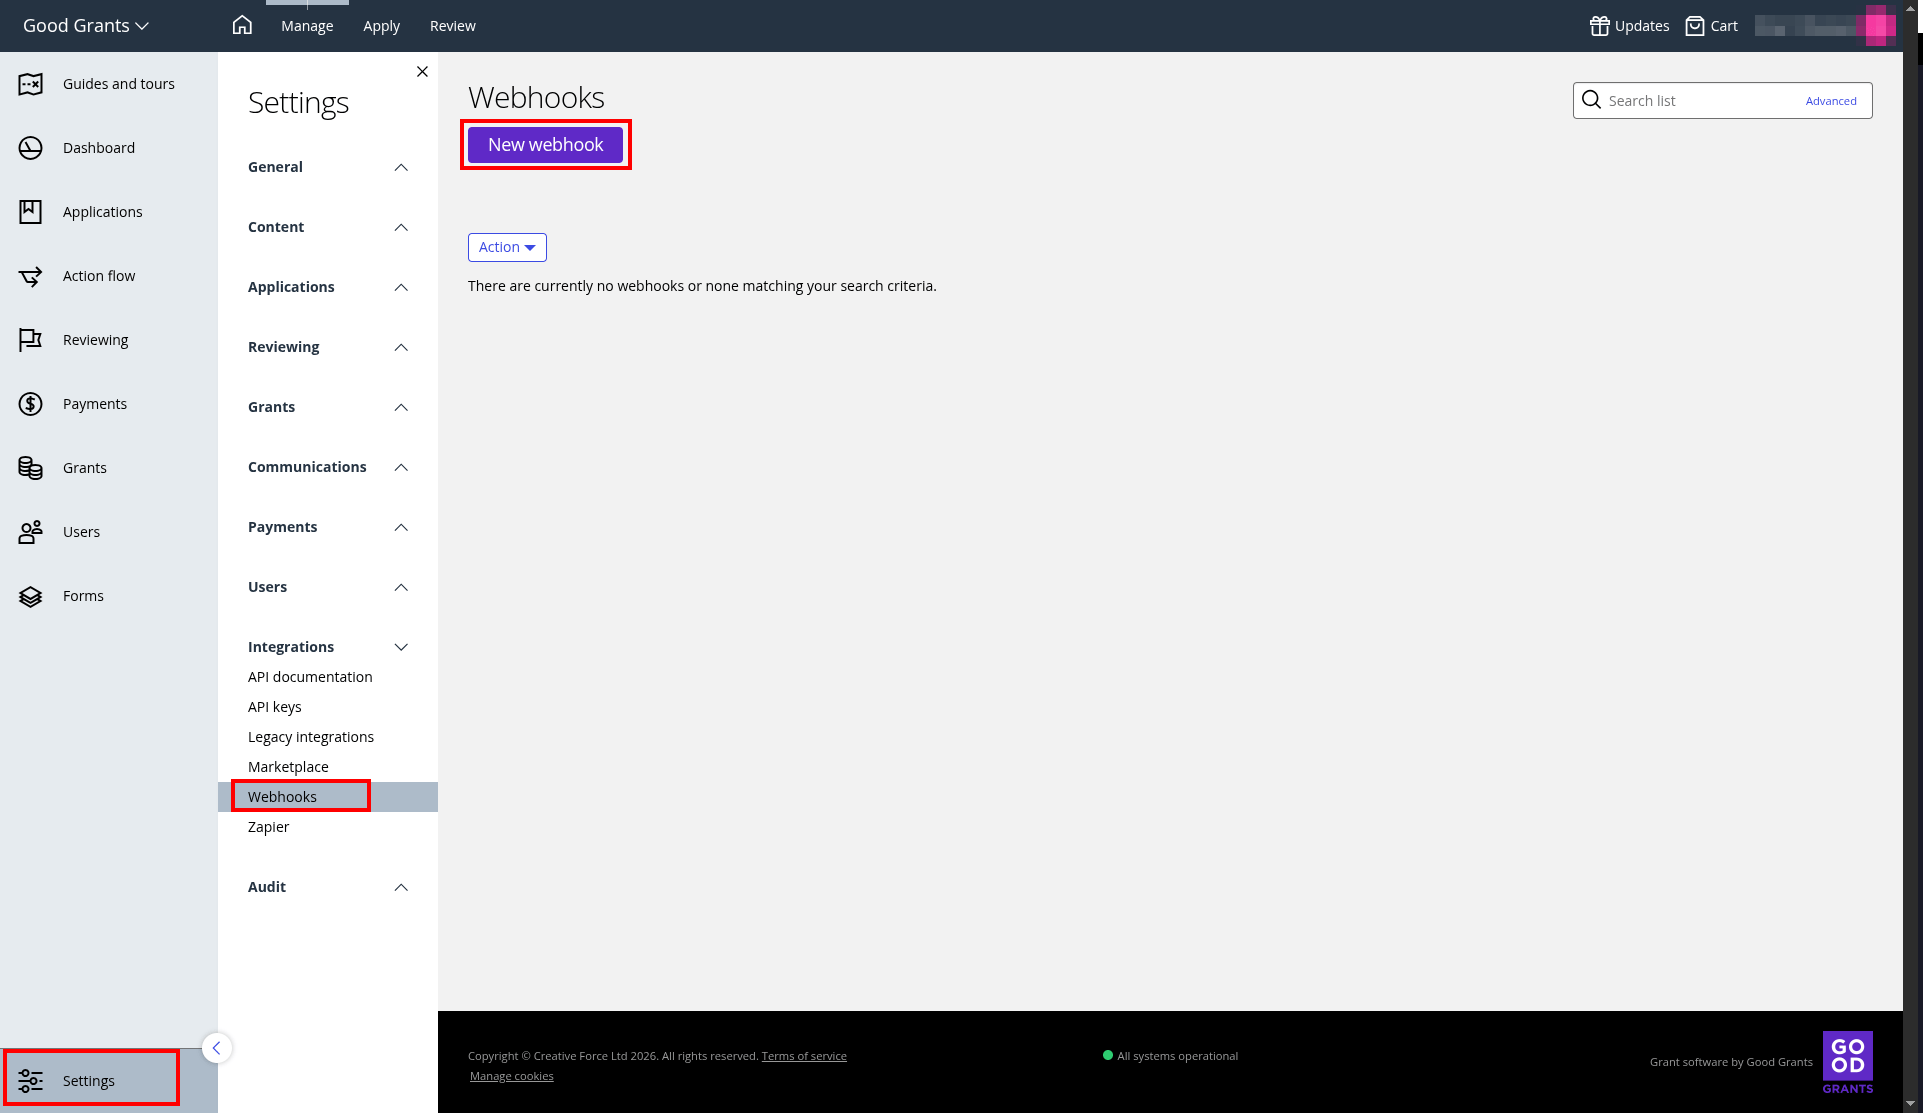
3
Enter a name and the webhook URL
Use a clear name so you can identify which integration a webhook belongs to later, especially when managing several webhooks.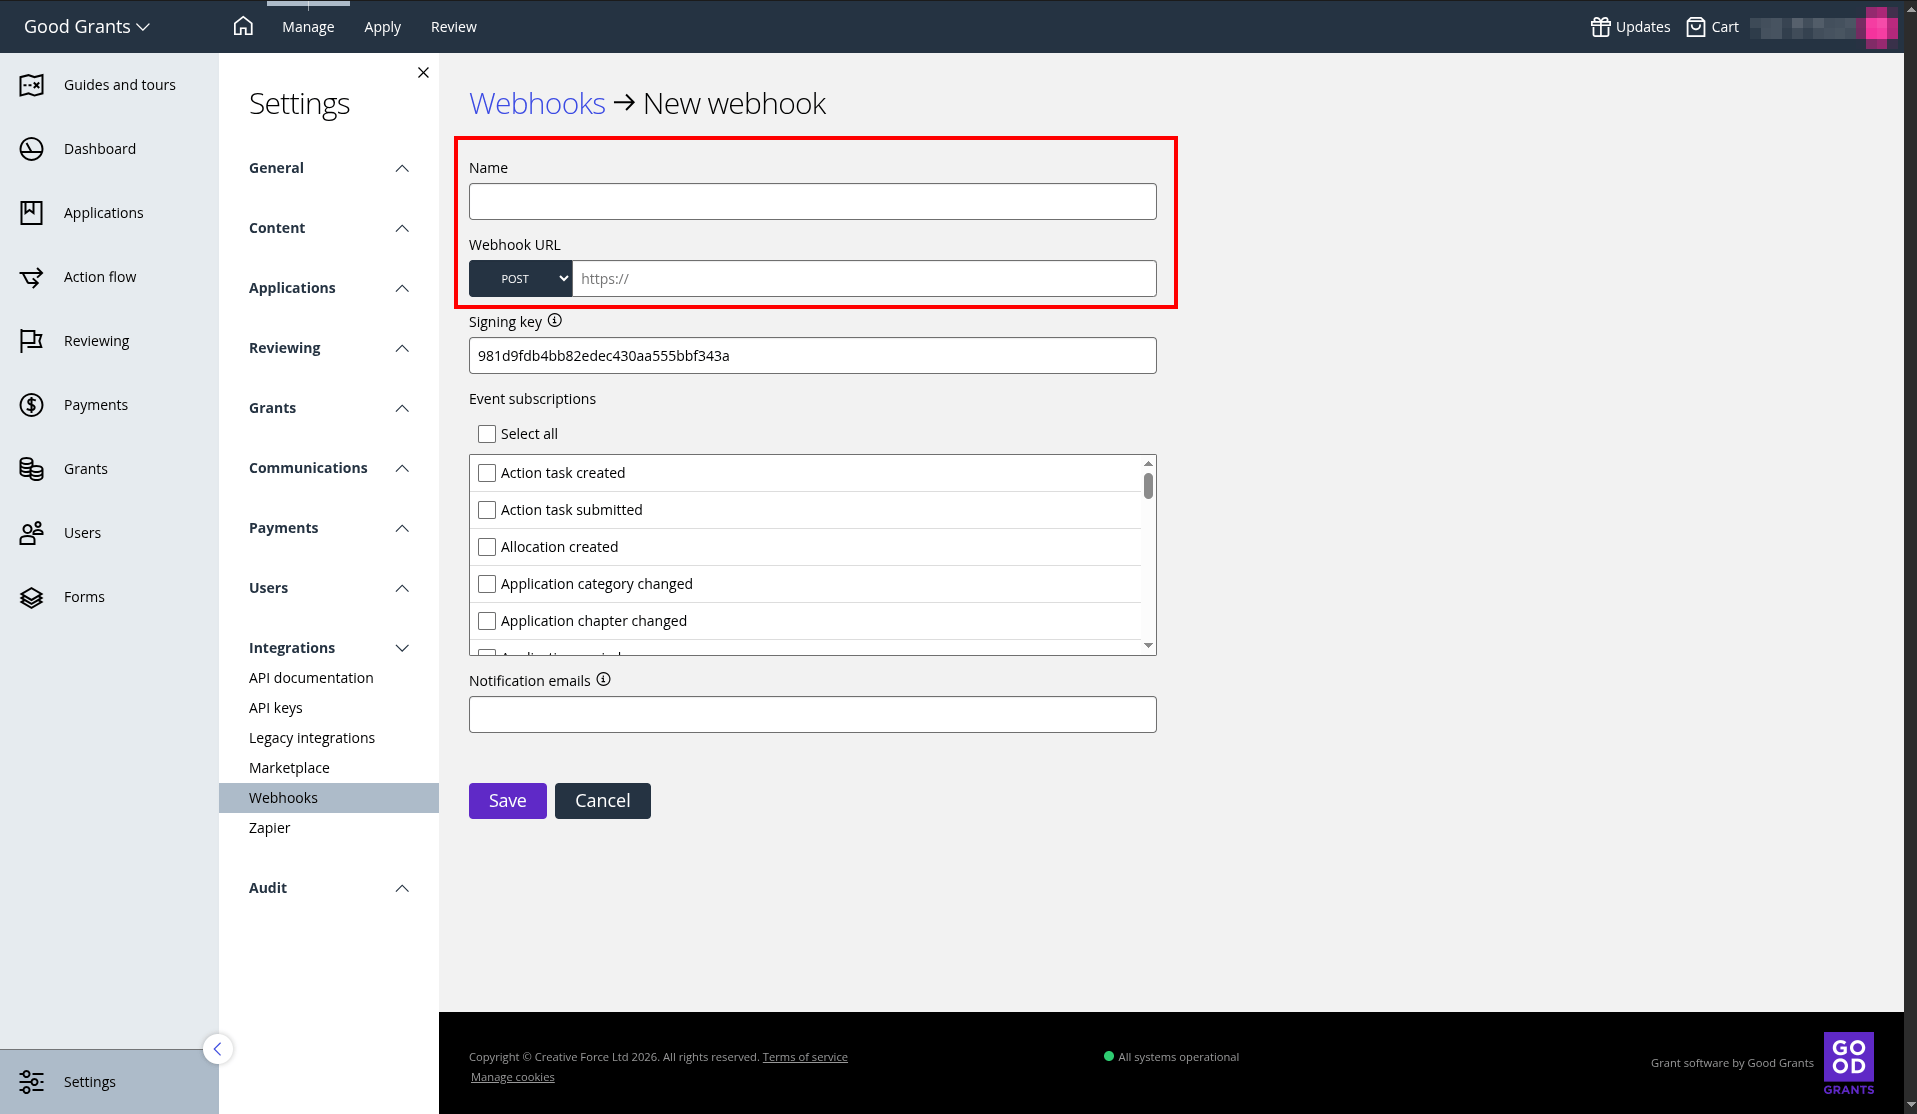
4
Use the auto-generated signing key or create a new one
Use this key to validate the webhook payload signature.
5
Select event subscriptions
Choose which events trigger this webhook. See Available subscriptions for the full list.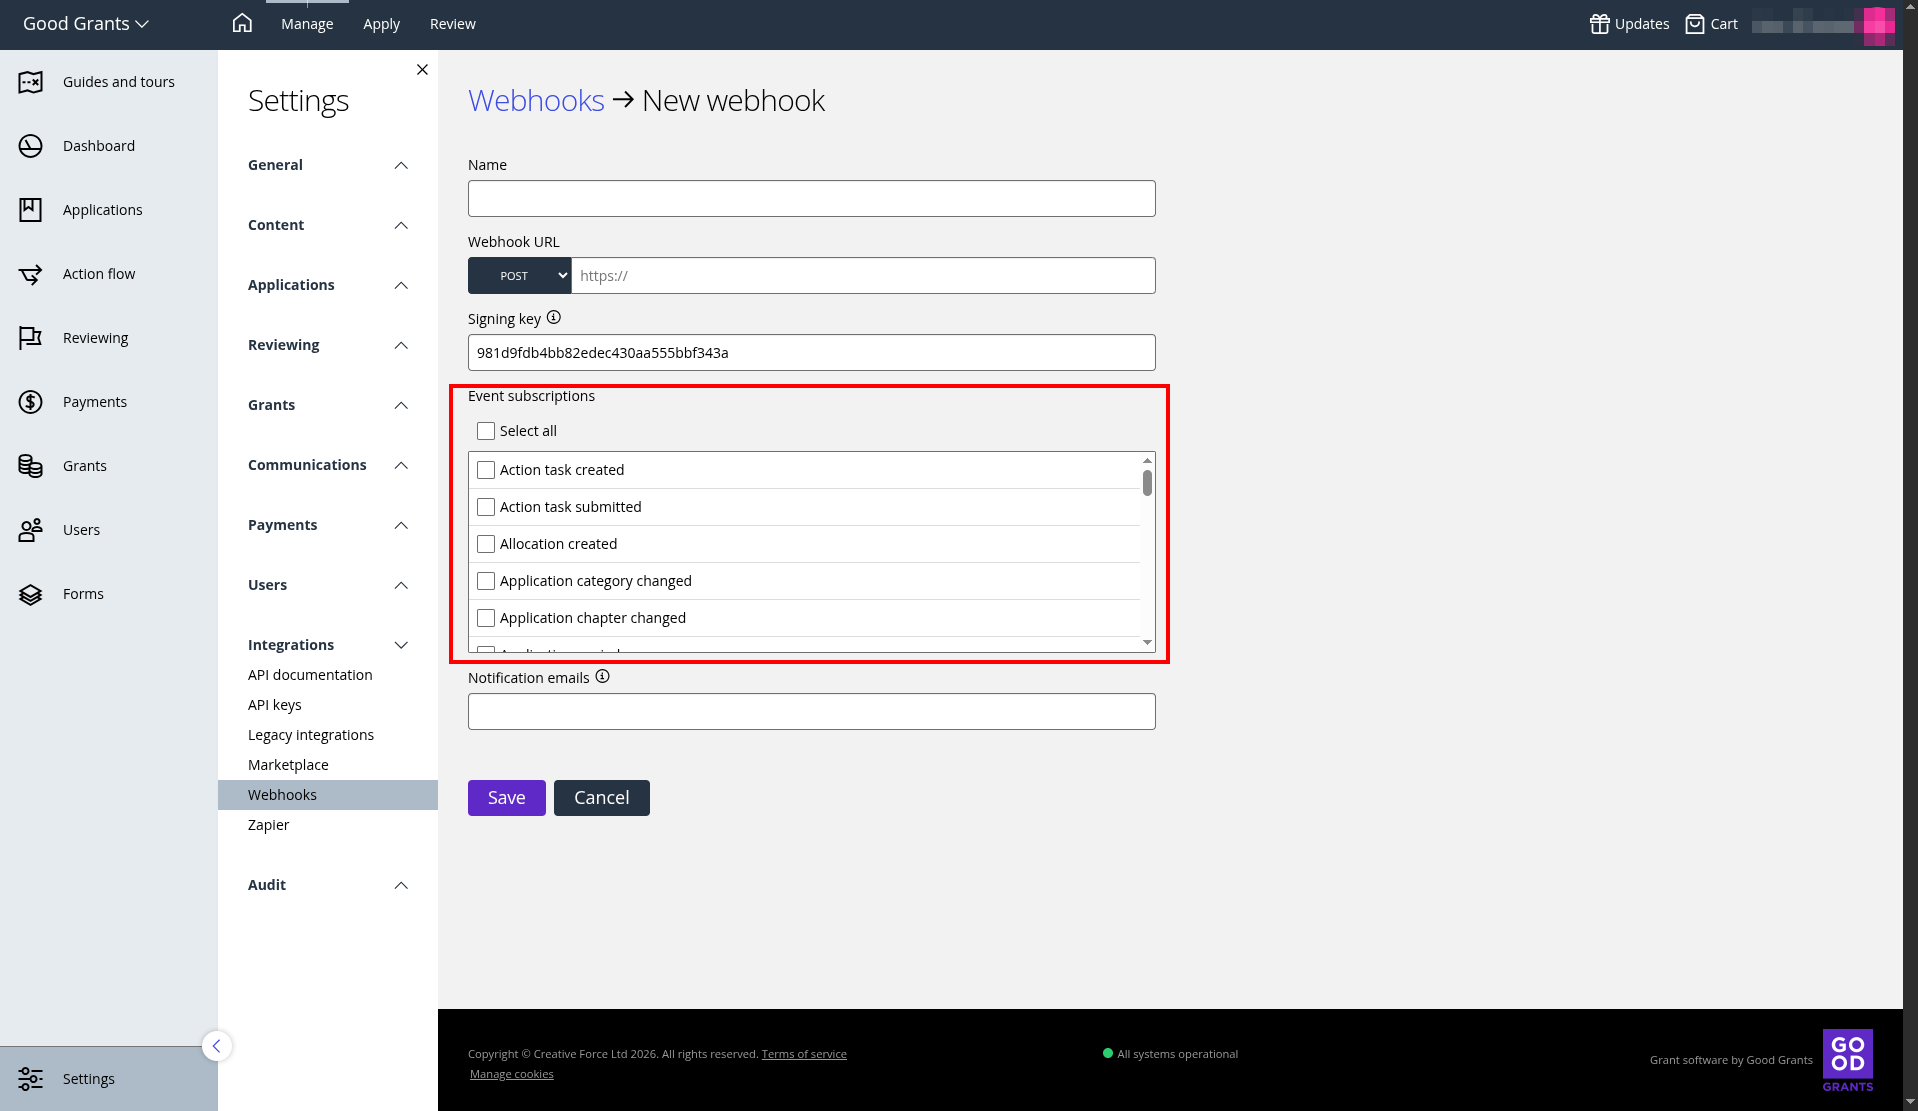
6
Specify notification email addresses if needed. Separate each address with a comma (,) or semicolon (;)
7
Save your changes
Edit an existing webhook
To edit an existing webhook, go to Settings > Integrations > Webhooks, then click the name of the webhook, or open the overflow action menu and click Edit.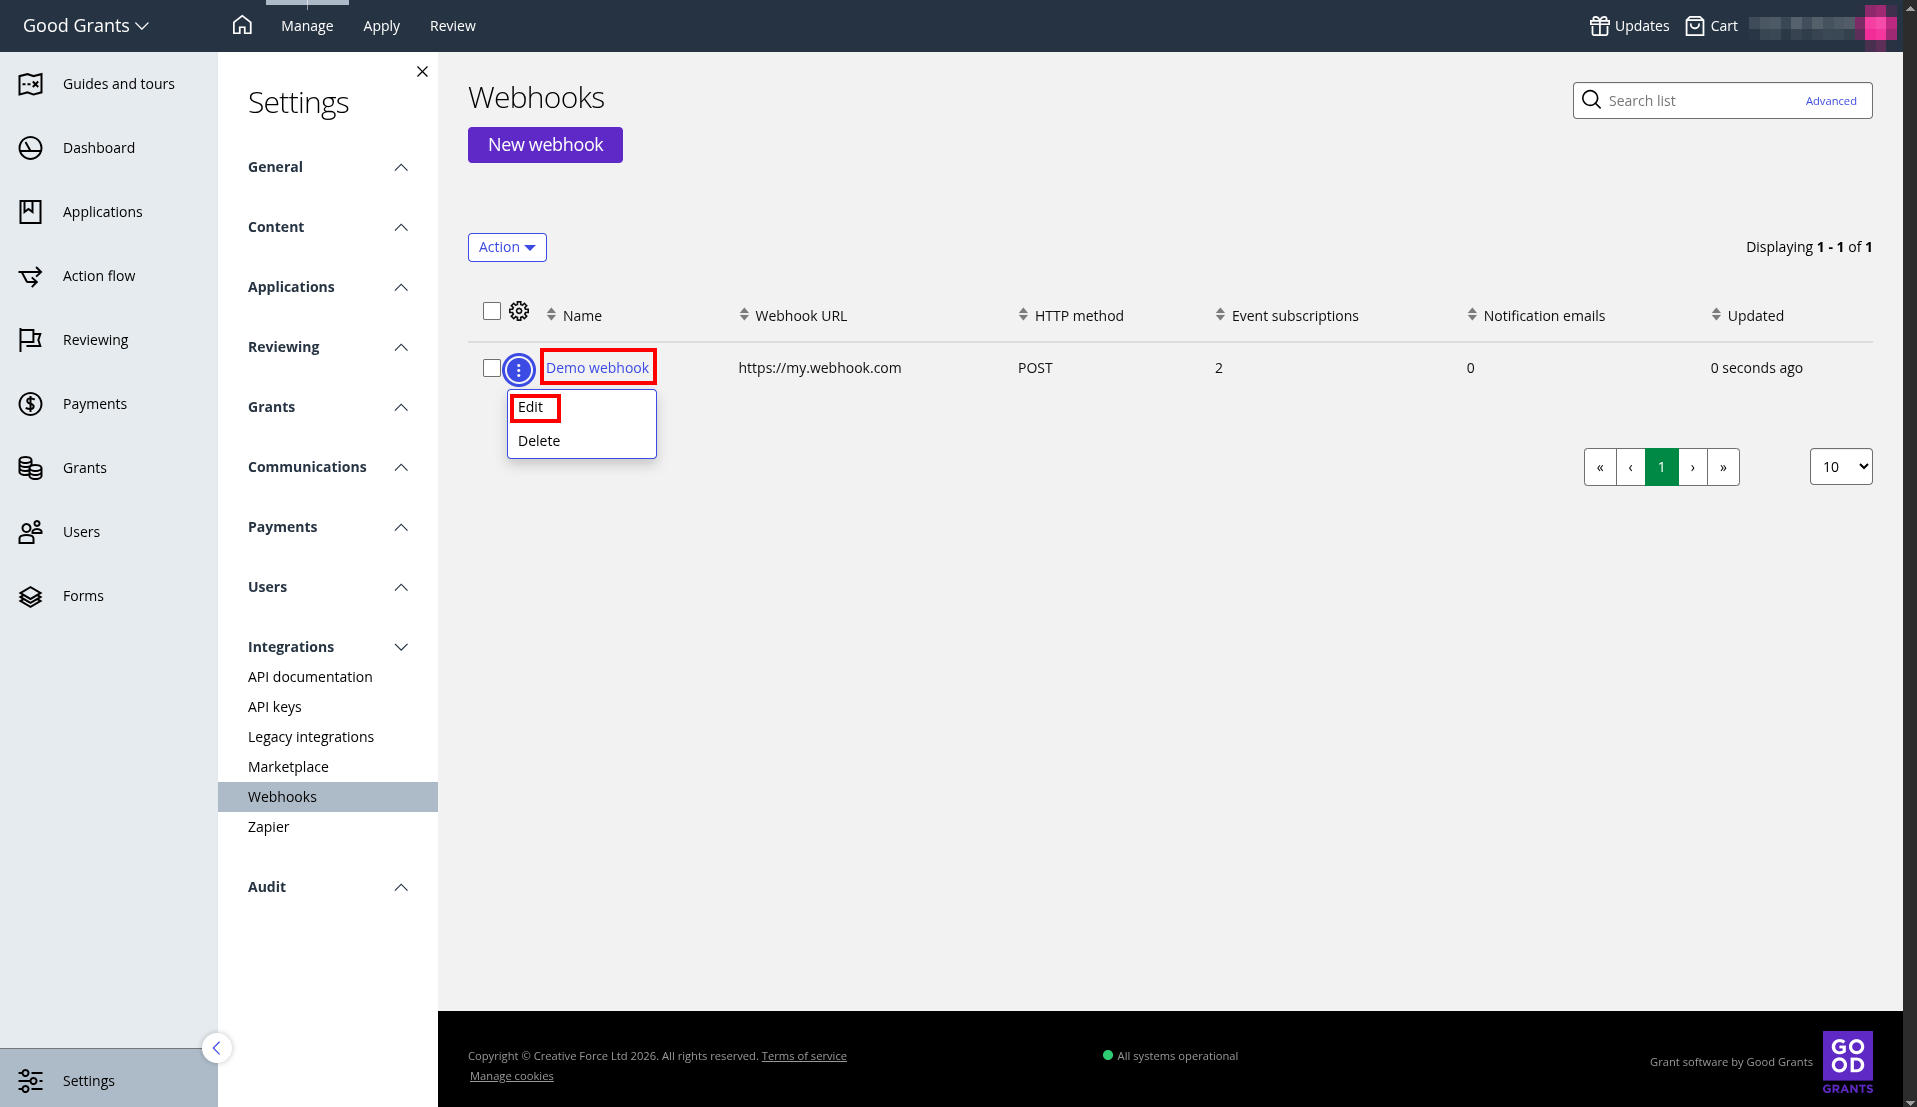
Delete an existing webhook
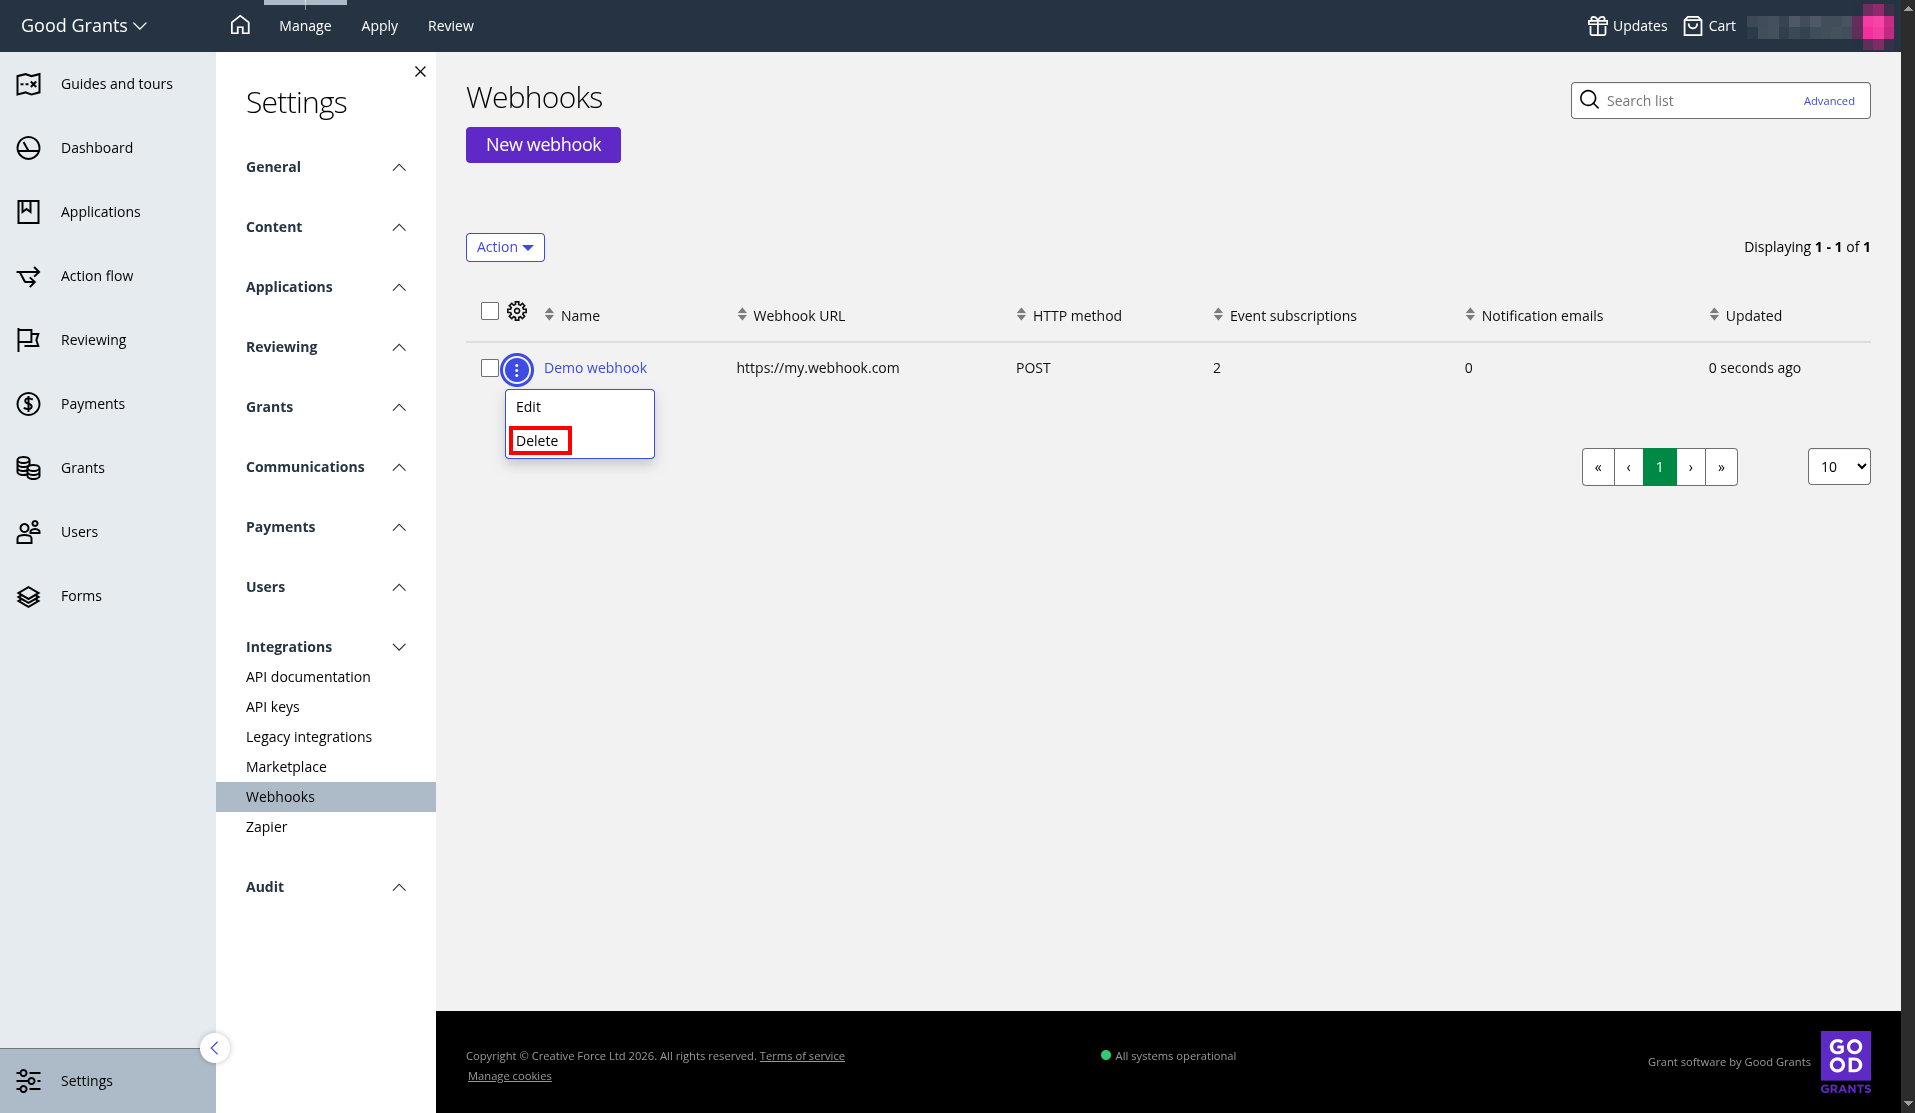
Deleting a webhook is permanent. The integration stops receiving events immediately, and you cannot undo this action.